One of the most common methods for cleaning works on paper may also be the most surprising to non-conservators: water baths.
In conservation labs around the world—and right here in our own Straus Center for Conservation and Technical Studies—original drawings and prints on paper are often cleaned by being sprayed with, or even submerged in, water. “Washing works of art on paper is an effective way to treat a variety of problems at once,” said Anne Driesse, senior conservator of works on paper. “As long as the artwork—both support (paper) and media—can withstand prolonged exposure to water, washing a work is good” for removing such imperfections as stains and discoloration.
Pre-Treatment Precautions
Long before any liquid meets paper, however, conservators must determine whether using a water bath is in fact the best way to treat the work in question. They look closely at the object’s history and the desired outcome of treatment. As Driesse said, “We proceed quite slowly.”
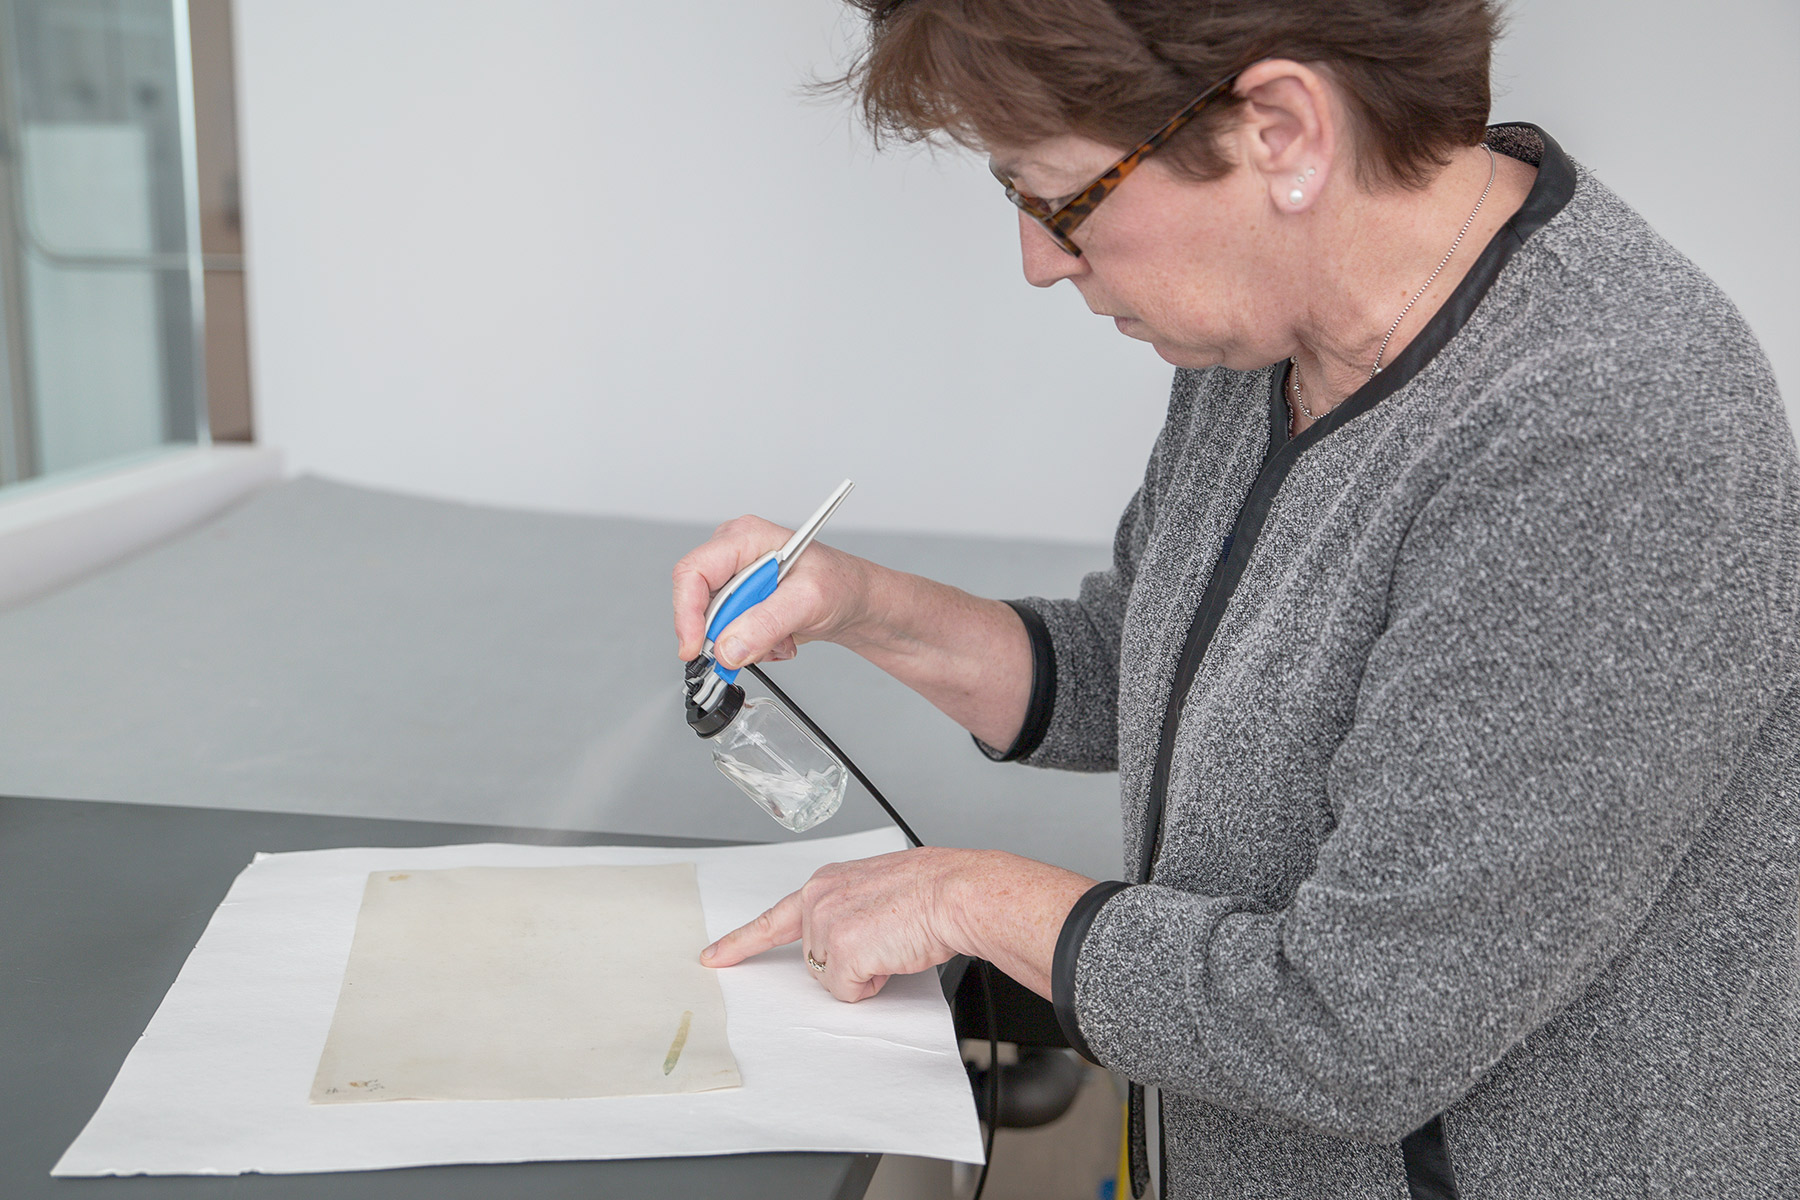
Through a series of tests on minuscule areas of the object, both the paper and the media are assessed. Tiny droplets of conditioned wash water are placed on the object and immediately blotted to check for a reaction. (Sometimes, this is even done under a microscope.) Subsequent spot tests may occur for progressively longer periods to determine whether prolonged moisture contact affects the media.
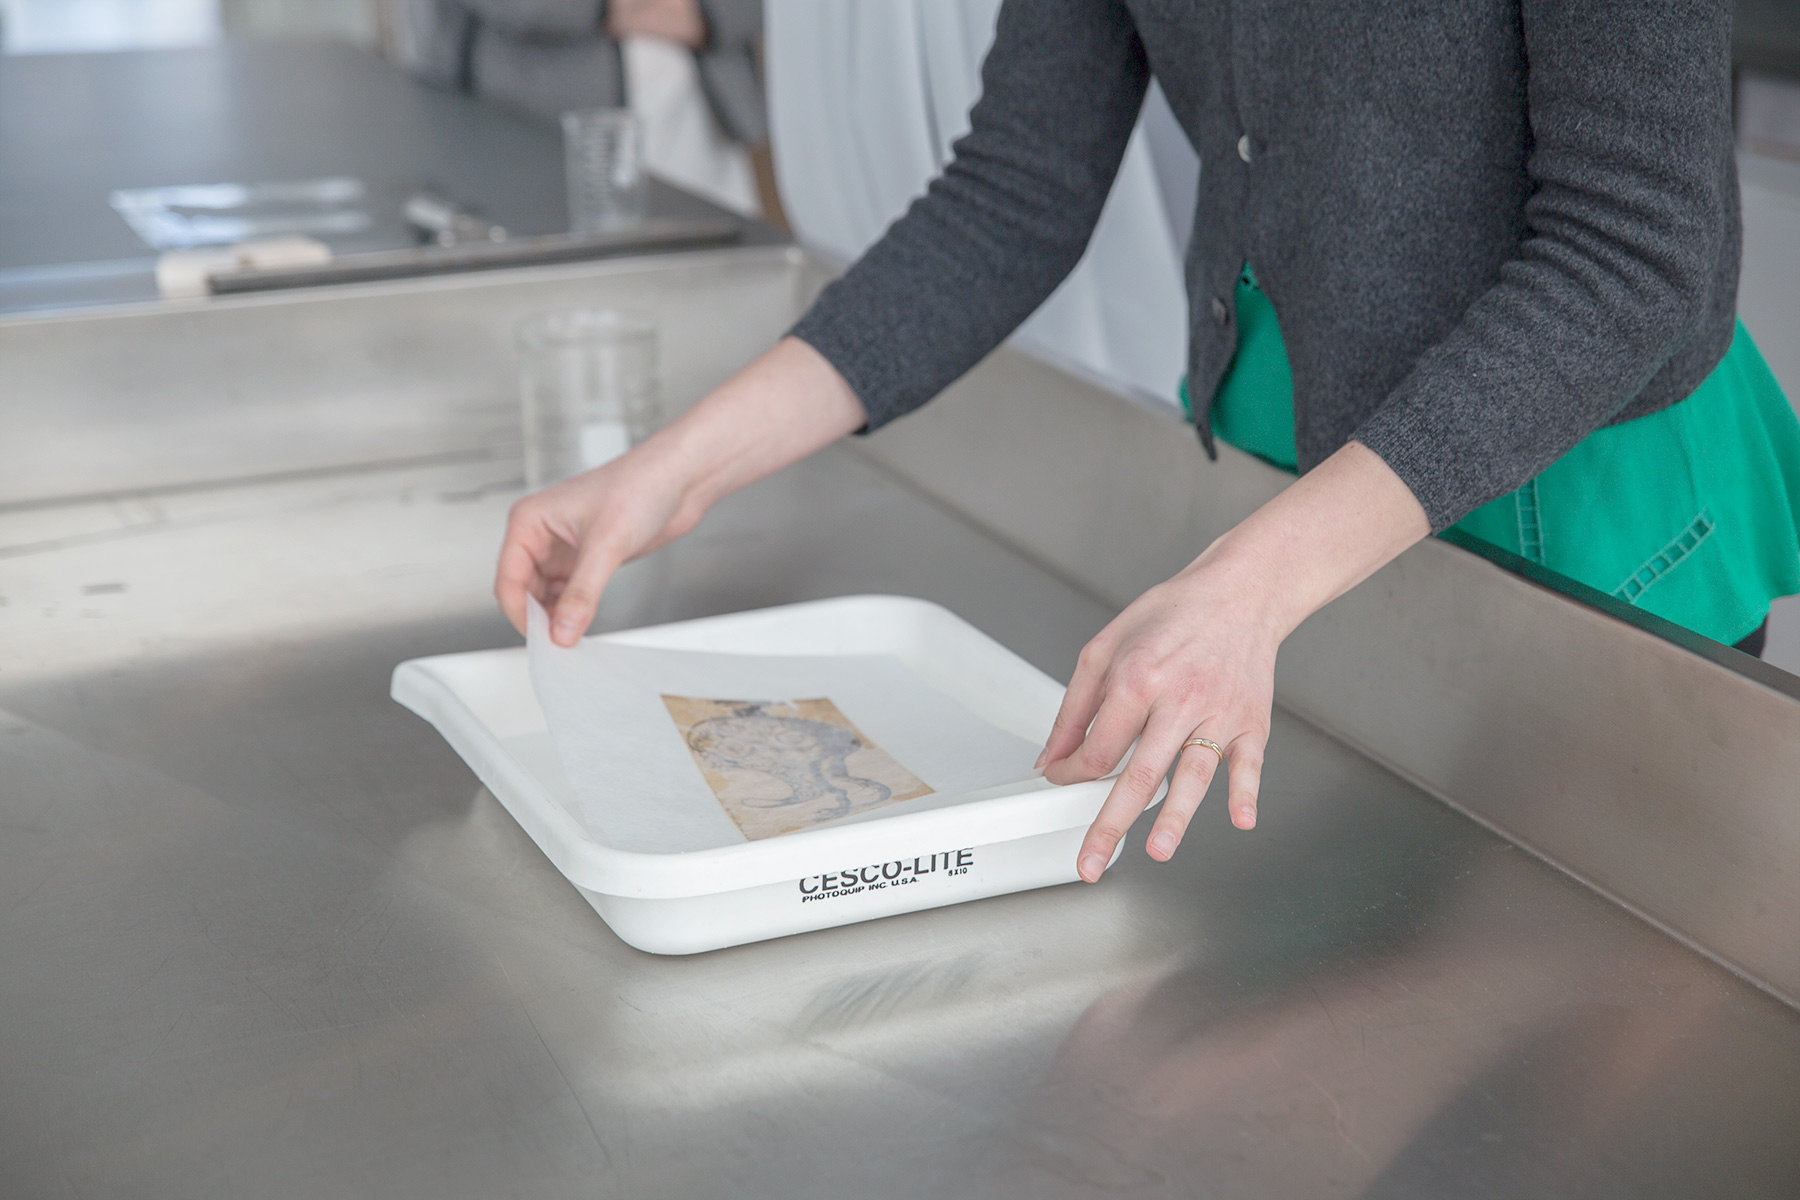
If the media and support are deemed stable, the next step is to select the method of washing. Options include fully immersing a work; “float washing,” or floating a work on the surface of a bath (thereby not fully immersing both sides); and “suction washing,” conducted atop a table with many small holes and a vacuum that pulls cleaning solution (and, it is hoped, any discolored elements from the paper or media) into blotters.
Another important step is deciding which formulation of water is appropriate. Tap water is never used; it contains far too many imperfections and chemicals (such as chlorine). Instead, conservators start with deionized water and slowly “condition” it by adding small amounts of ions until the water reaches a target pH level (correlated with the actual object’s pH level). This important step ensures that the water won’t damage the art.
A Warm—and Effective—Bath
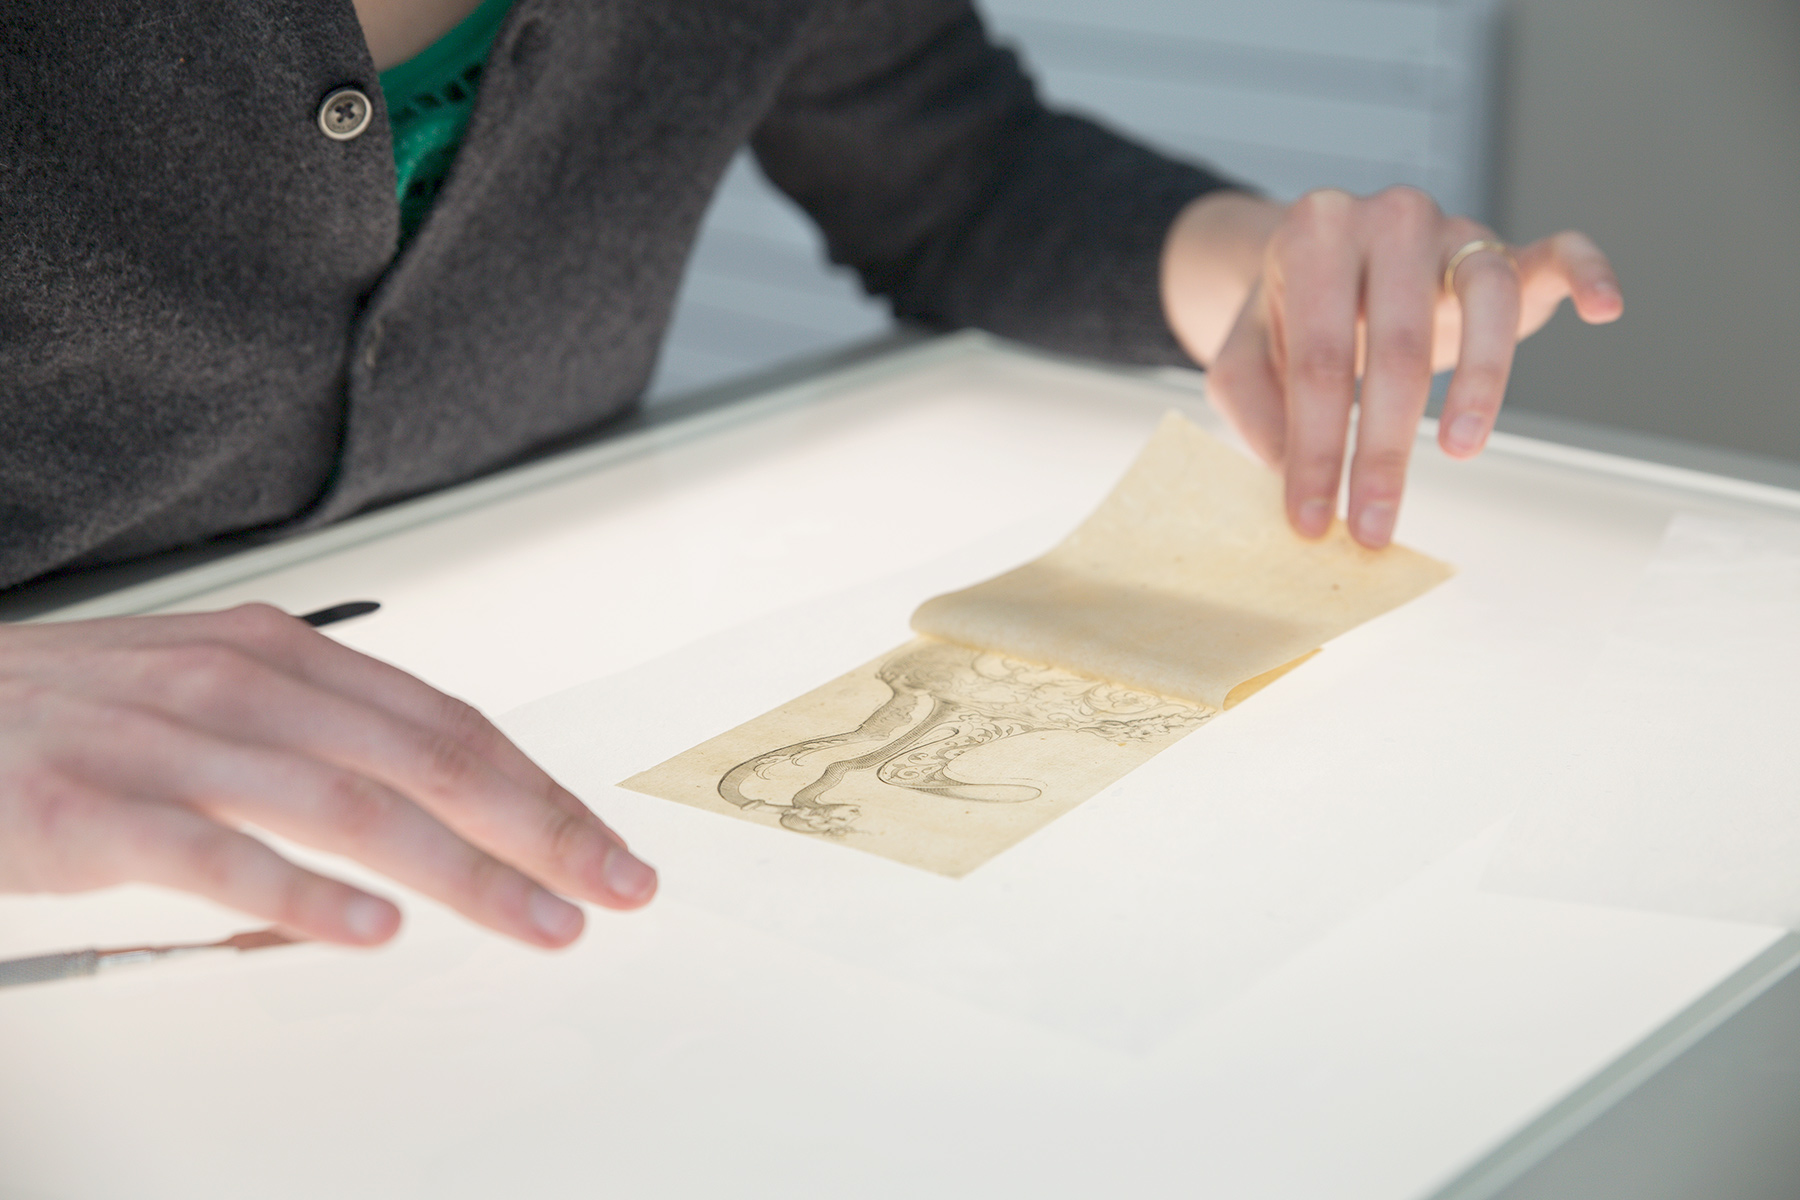
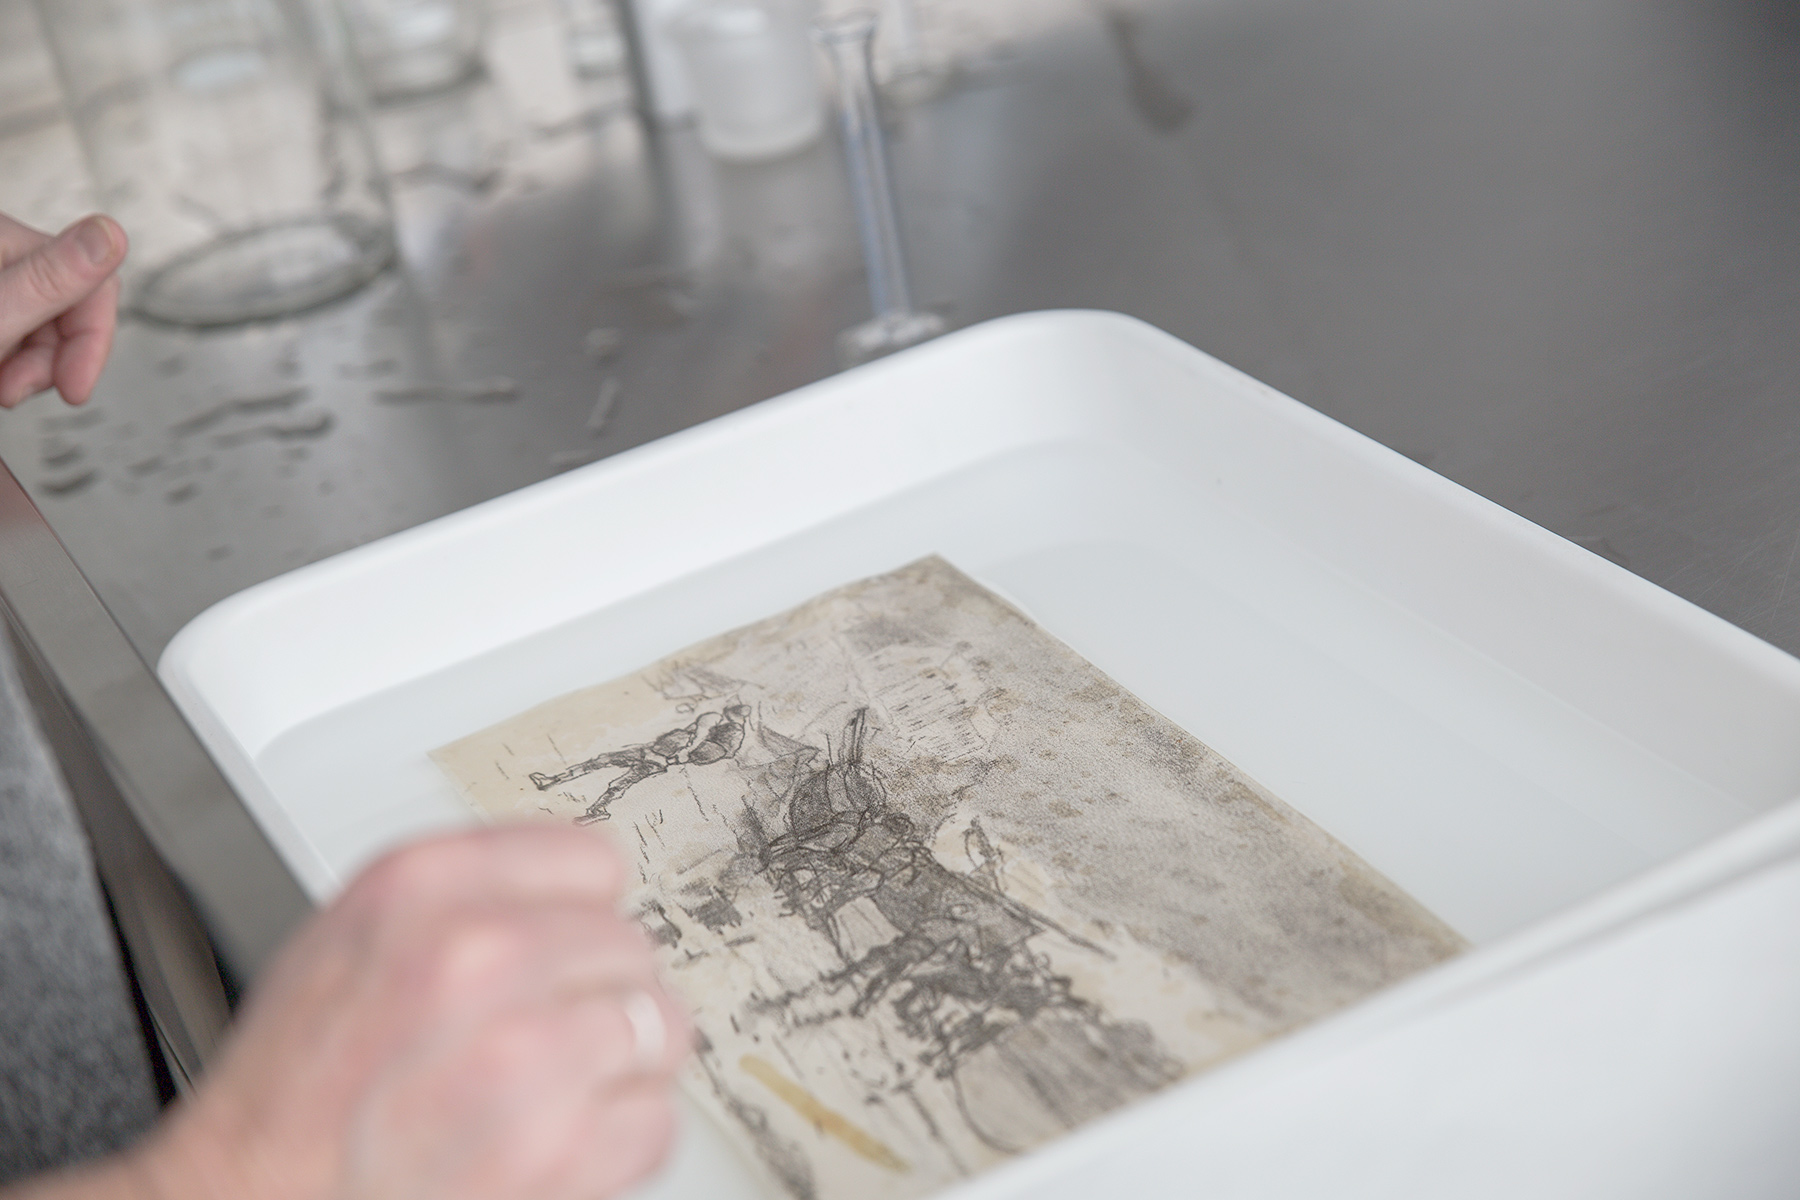
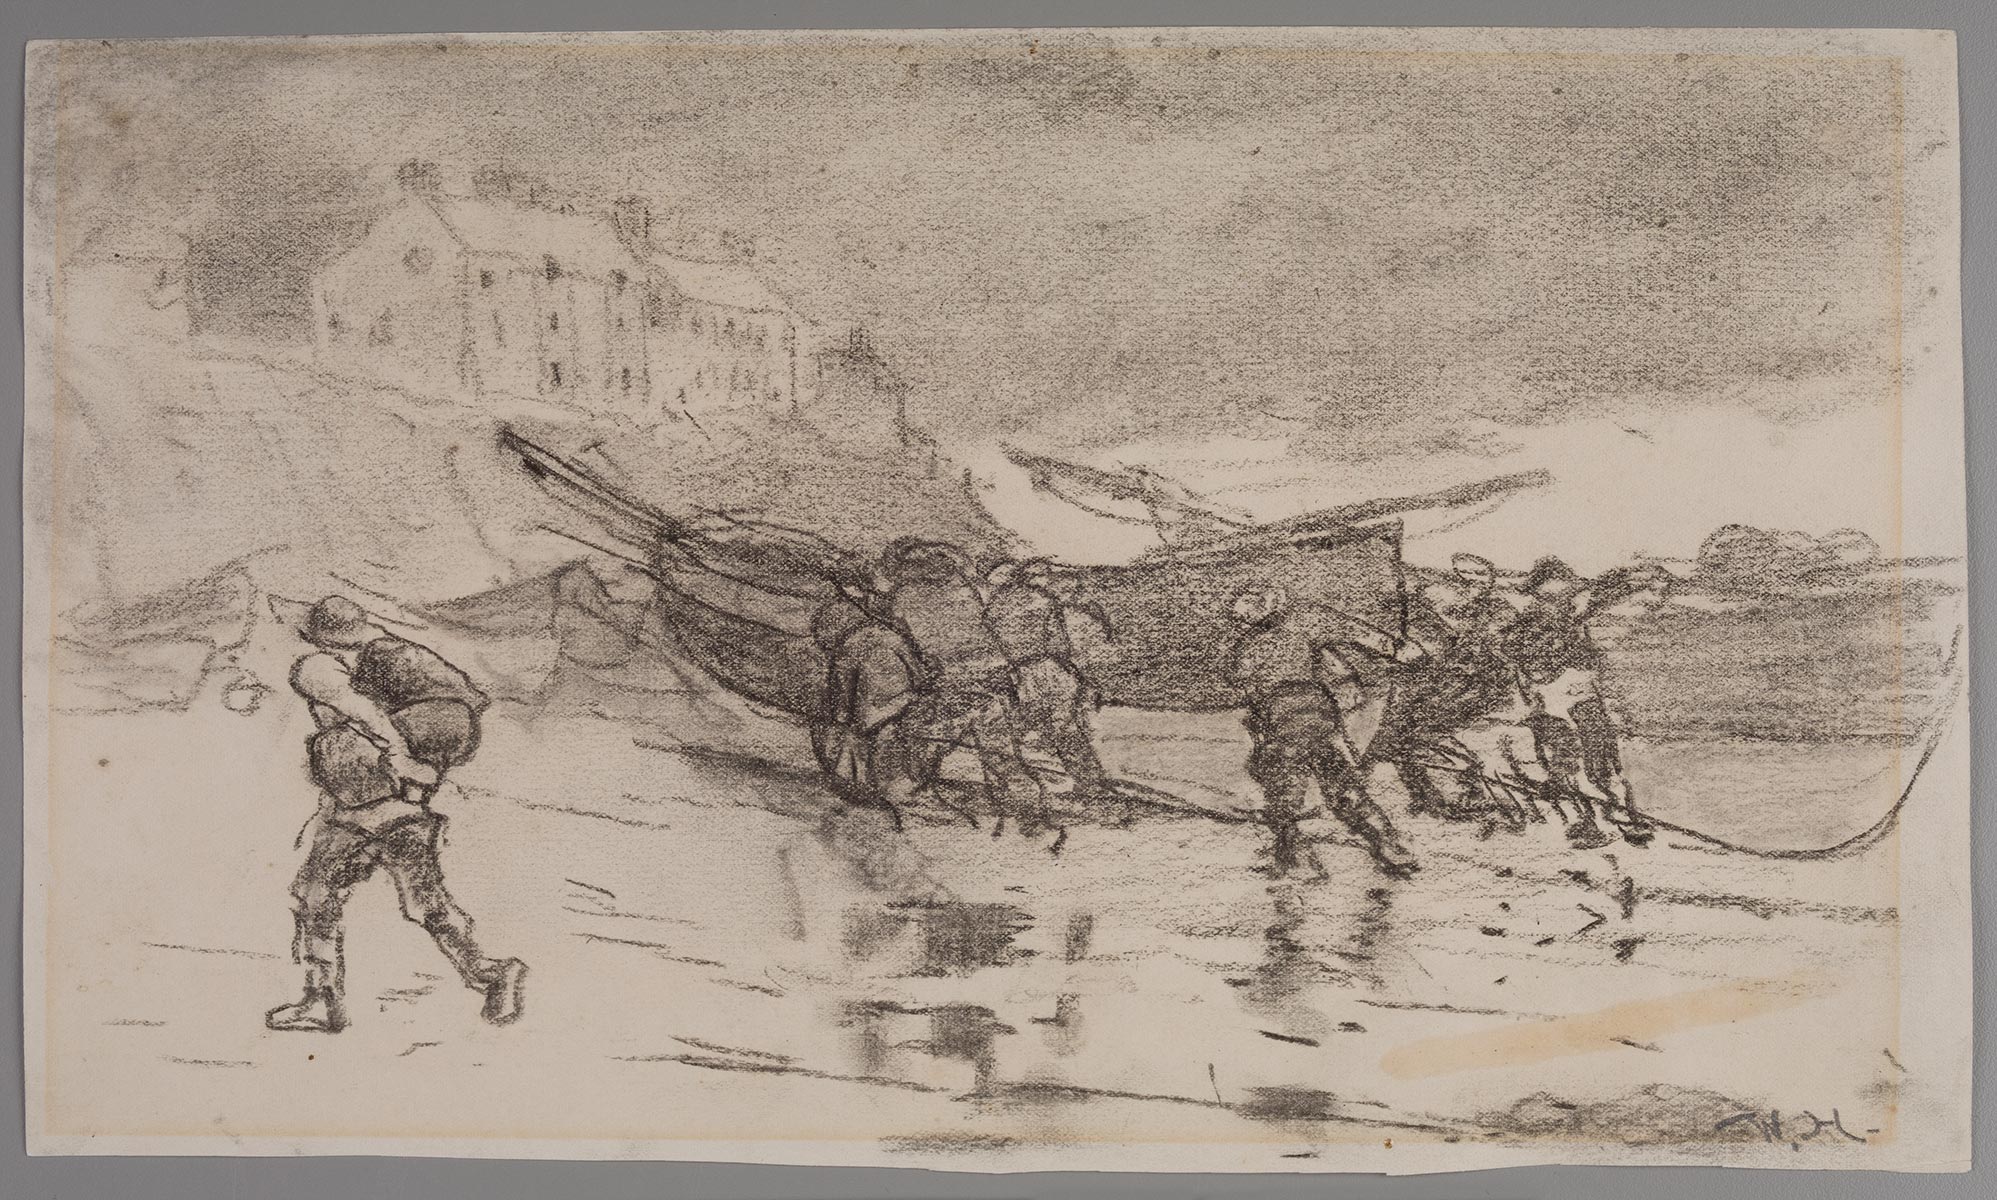
Recently, assistant paper conservator Christina Taylor was treating a 16th- to 17th-century Dutch print that had become discolored. At some point in its history, the print was affixed to a backing sheet of paper; Taylor hoped to separate the two.
Testing and research revealed that the ink used for the print was oil-based and not water-sensitive. The paper was presumed to contain rag material, which generally ages and withstands treatment better than some 19th- or 20th-century papers. Based on these factors, she felt it would be possible to submerge the object without risk of damage.
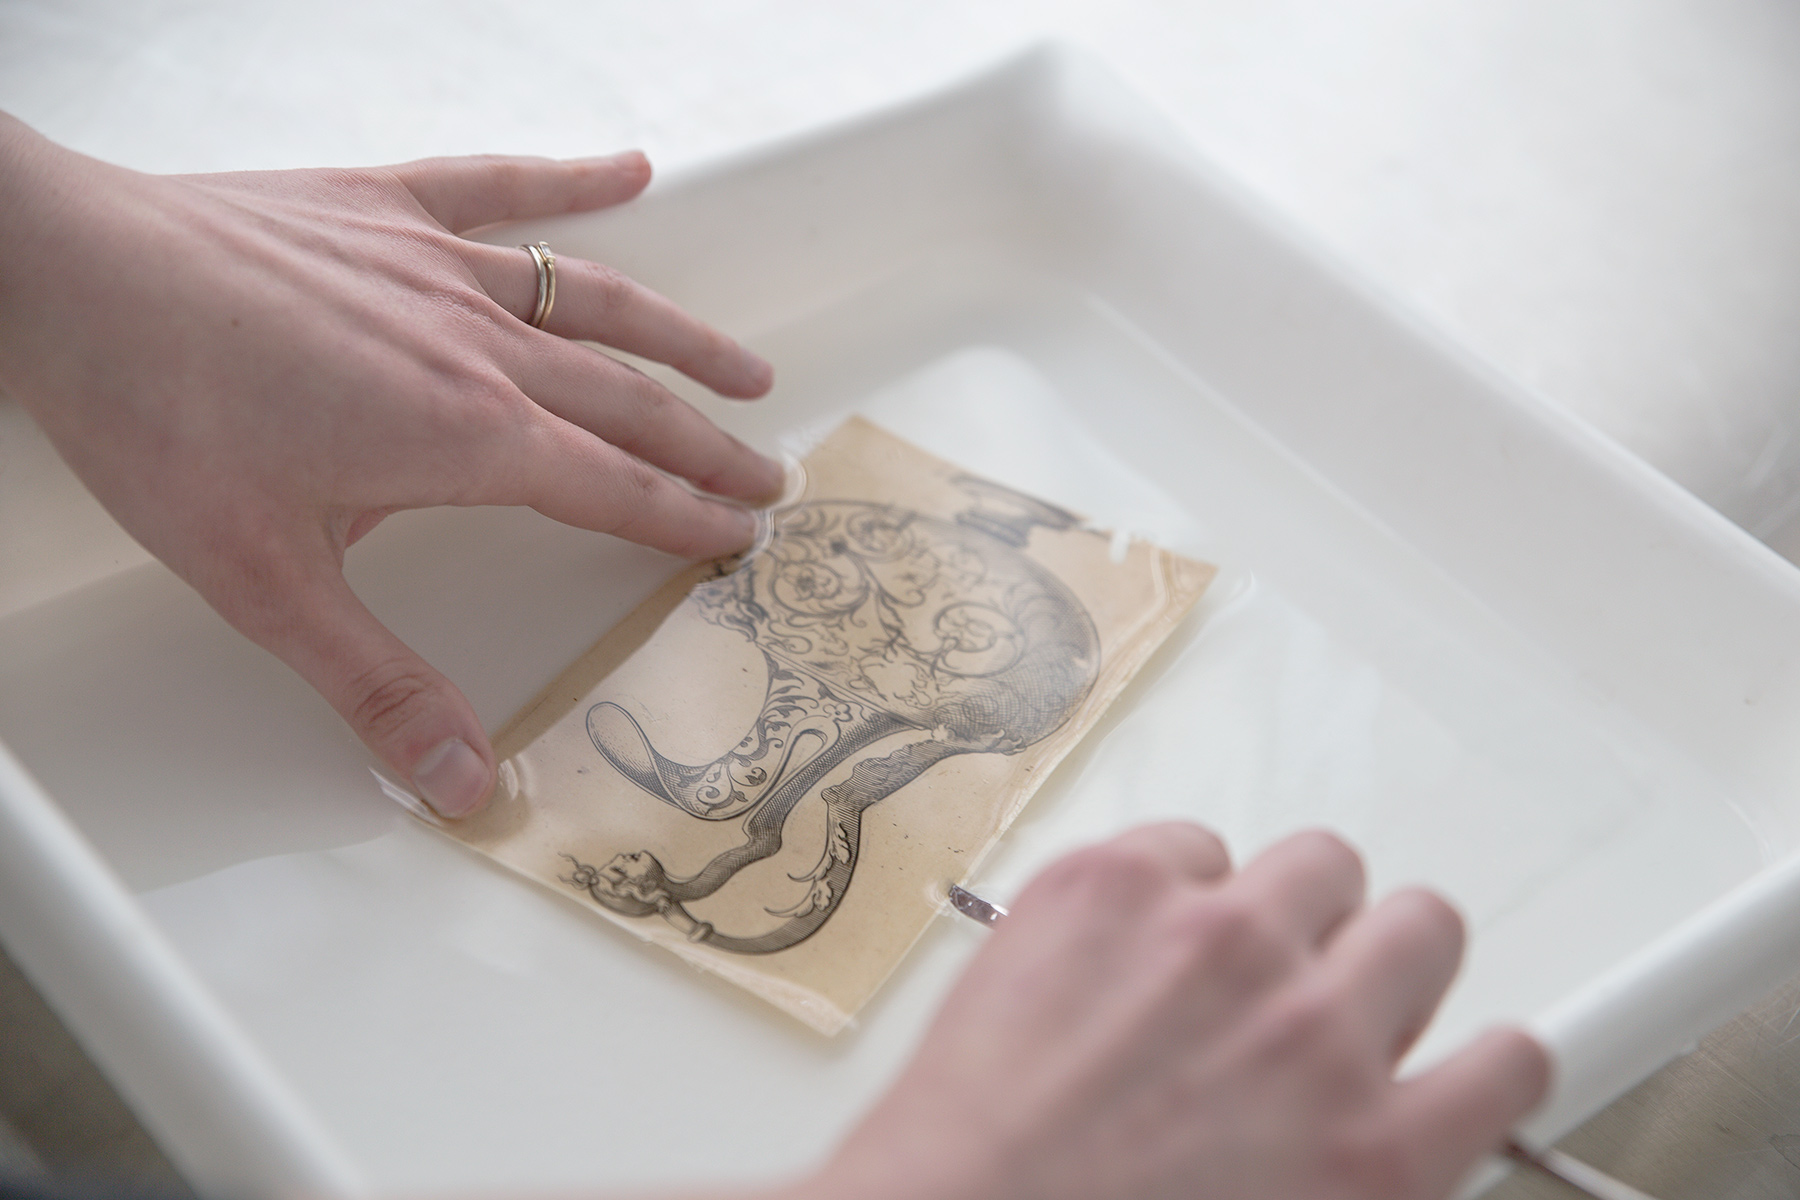
First, Taylor introduced humidity by resting the work between two layers of Gore-Tex (a synthetic waterproof material) within a humidity chamber. After an hour, she lightly sprayed it with conditioned water. “You always want to prepare the work gradually; you never take a work on paper from completely dry to totally wet,” she said.
Next, she filled a small tub with warm, conditioned water. Holding the dampened print between thin sheets of polyester (which helped her avoid directly touching the print), she lifted it out of the humidity chamber and into the tub. Gently, she pushed the print below the water, and then removed the top layer of polyester.
It’s important to note that neither Taylor nor Driesse shies away from directly touching a work of art with clean bare hands when necessary. Paper conservators rely on their sense of touch to gently handle works of art and to ensure that the very act of handling doesn’t cause damage. Wearing gloves—commonly misperceived as an appropriate technique in many situations—would add a layer of distance between conservators and the work, and the loss of tactility could inadvertently present a greater risk to the art than any oils from the fingertips.